Complete Guide to Volvo D12 Turbo Replacement: Step-by-Step Instructions and Maintenance Tips
Introduction – Signs You Need a Volvo D12 Turbo Replacement
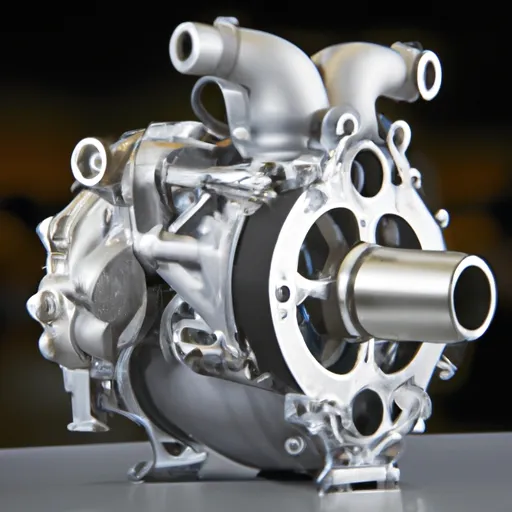
In this chapter, we will provide an introduction to the importance of the turbocharger in the Volvo D12 engine, as well as the signs that indicate the need for a turbo replacement. The turbocharger is a crucial component of the engine that increases its power output by forcing more air into the combustion chamber.
Over time, the turbocharger can wear out, leading to a drop in performance and efficiency. Some common signs that indicate the need for a turbo replacement include reduced engine power, increased smoke from the exhaust, and unusual noises from the engine.
By being aware of these signs, you can take proactive steps to replace the turbocharger before it causes further damage to the engine. In the next chapter, we will discuss the tools and equipment you’ll need to prepare for the turbo replacement process.
Preparing for Volvo D12 Turbo Replacement – Tools and Safety Precautions
In this chapter, we will discuss the tools and equipment you’ll need to prepare for the Volvo D12 turbo replacement process. Proper preparation is essential for a smooth and successful replacement process.
Some of the tools you’ll need for the turbo replacement include a socket set, wrenches, pliers, screwdrivers, and a torque wrench. It’s important to ensure that you have the right tools for the job to avoid damaging any components during the process.
Additionally, safety precautions must be taken before starting the replacement process. This includes disconnecting the battery, allowing the engine to cool down, and wearing safety gear such as gloves and safety glasses. Proper safety precautions will prevent accidents and ensure that the process is completed smoothly.
In the next chapter, we will discuss the step-by-step process of removing the old turbocharger.
Removing the Old Volvo D12 Turbocharger – Step-by-Step Guide
In this chapter, we will discuss the step-by-step process of removing the old turbocharger from the Volvo D12 engine. It’s important to follow the correct procedure to avoid damaging any components and ensure that the replacement process is successful.
The first step is to locate the turbocharger and disconnect any hoses, pipes, and electrical connections. Then, you’ll need to remove the mounting bolts that hold the turbocharger in place. It’s important to keep track of the bolts and their locations to avoid confusion during the installation of the new turbocharger.
After removing the mounting bolts, the old turbocharger can be carefully lifted out of the engine. It’s essential to inspect the turbocharger for any signs of damage or wear, such as cracks, dents, or worn bearings.
During the removal process, it’s common to encounter issues such as rusted or corroded bolts, which can make the process more challenging. In the next chapter, we will discuss the step-by-step process of installing the new turbocharger.
Installing the New Volvo D12 Turbocharger – Step-by-Step Guide and Tips
In this chapter, we will discuss the step-by-step process of installing the new turbocharger in the Volvo D12 engine. Proper installation is essential for optimal engine performance and longevity.
The first step is to carefully lower the new turbocharger into place and align it with the mounting holes. It’s important to ensure that the mounting bolts are properly torqued to the manufacturer’s specifications to prevent any leaks or damage.
Next, any hoses, pipes, and electrical connections that were removed in the previous chapter need to be reconnected to the new turbocharger. It’s essential to ensure that all connections are properly secured to avoid any leaks.
During the installation process, it’s important to follow the manufacturer’s guidelines and recommendations to ensure a smooth installation. It’s also important to take your time and be patient to avoid any mistakes.
Additionally, there are some tips that you can follow to make the installation process easier, such as applying anti-seize to the mounting bolts and ensuring that all gaskets are properly aligned.
In the next chapter, we will discuss the post-replacement procedures that need to be followed after installing the new turbocharger.
Post-Replacement Procedures and Maintenance Tips for Volvo D12 Turbocharger
In this chapter, we will discuss the post-replacement procedures that need to be followed after installing the new turbocharger in the Volvo D12 engine. Proper post-replacement procedures and maintenance are essential for optimal engine performance and longevity.
After installing the new turbocharger, it’s important to start the engine and check for any leaks or unusual noises. If everything seems normal, the next step is to take the vehicle for a test drive to ensure that the engine performance is optimal.
It’s also important to follow the manufacturer’s recommended maintenance schedule for the turbocharger, which usually involves regular inspection and cleaning. Regular maintenance will ensure that the turbocharger remains in optimal condition and extends its lifespan.
Additionally, there are some maintenance tips that you can follow to ensure optimal performance and longevity, such as using high-quality oil and filters, avoiding overloading the engine, and allowing the engine to cool down before shutting it off.
In conclusion, proper turbocharger maintenance and replacement are essential for optimal engine performance and longevity. By following the step-by-step procedures outlined in this guide and practicing proper maintenance, you can ensure that your Volvo D12 engine remains in optimal condition.
For detailed information, you can contact us at torqueusa.com.
